Step into the dynamic world of clothing line photo shoots, where every shutter click is a powerful opportunity to amplify your fashion brand’s presence and inspire customers. Think about your last online shopping experience: what compelled you to stop scrolling? It was likely the stunning, high-definition images that made the fabric designs practically irresistible and screamed, “Add to cart!”
💡 In this comprehensive guide, we will walk you through the entire, detailed process of creating these eye-catching, head-turning images for your burgeoning clothing manufacturer venture. From the initial strategic planning to the crucial final post-production steps, we’ll narrate precisely how to make your clothing line truly pop with unparalleled style and professionalism. In the competitive realm of fashion e-commerce, high-quality, professional imagery is not just aesthetically pleasing—it’s the definitive secret to your brand’s commercial success. Get ready to capture greatness!
What is the Core Purpose of a Fashion Photo Shoot?
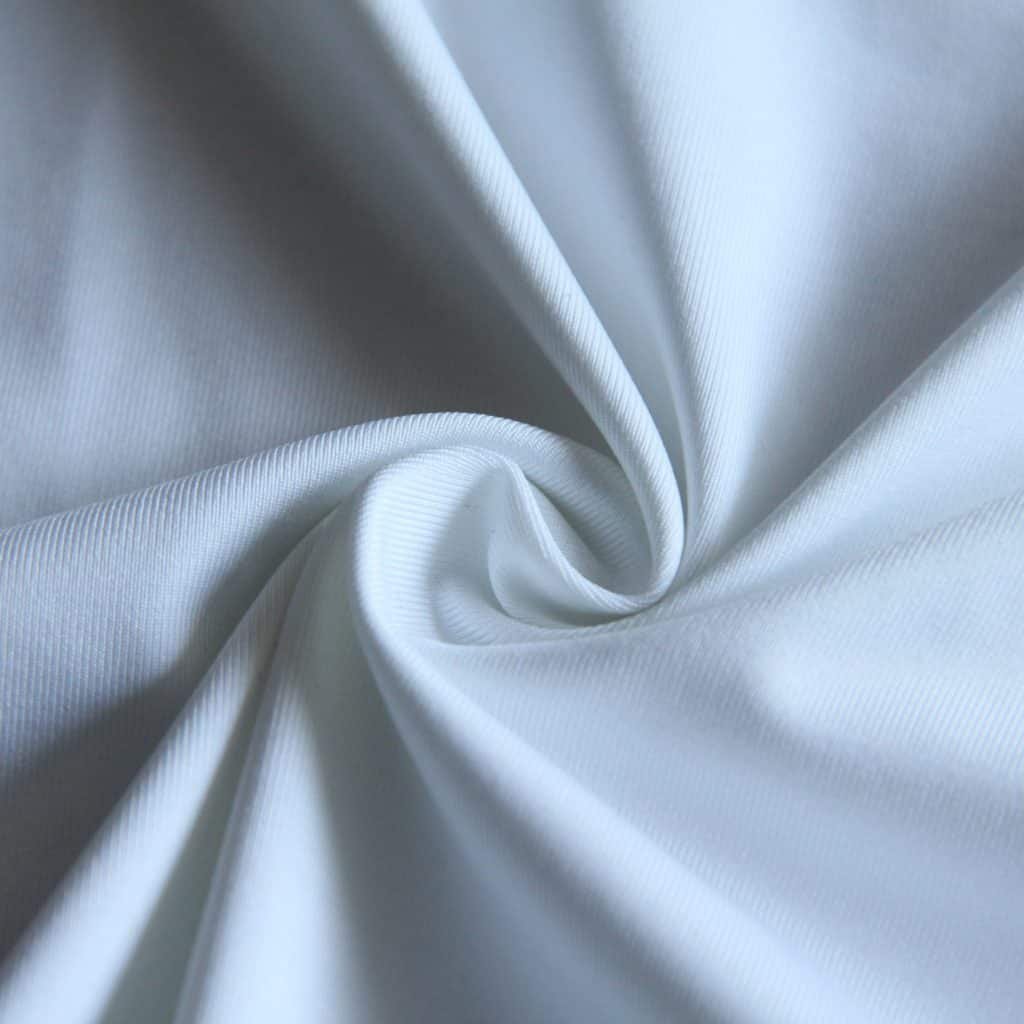
A dedicated fashion photoshoot serves as the critical, visual introduction of a new clothing line to its target audience, whether they are B2B retailers, wholesale buyers, or direct-to-consumer (DTC) customers. The resulting photographs must vividly and accurately showcase the garment’s precise features: the texture and quality of the fabrics, the intricacy of the designs, the precision of the cuts, and the quality of the finishes.
Crucially, a successful shoot also aids in communicating the underlying concept and inspiration behind the collection to potential clients. Therefore, your fashion photography style and execution must seamlessly align with the collection’s overall objectives, core ideas, and brand messaging.
7 Essential Steps for Planning Your Clothing Line Photoshoot

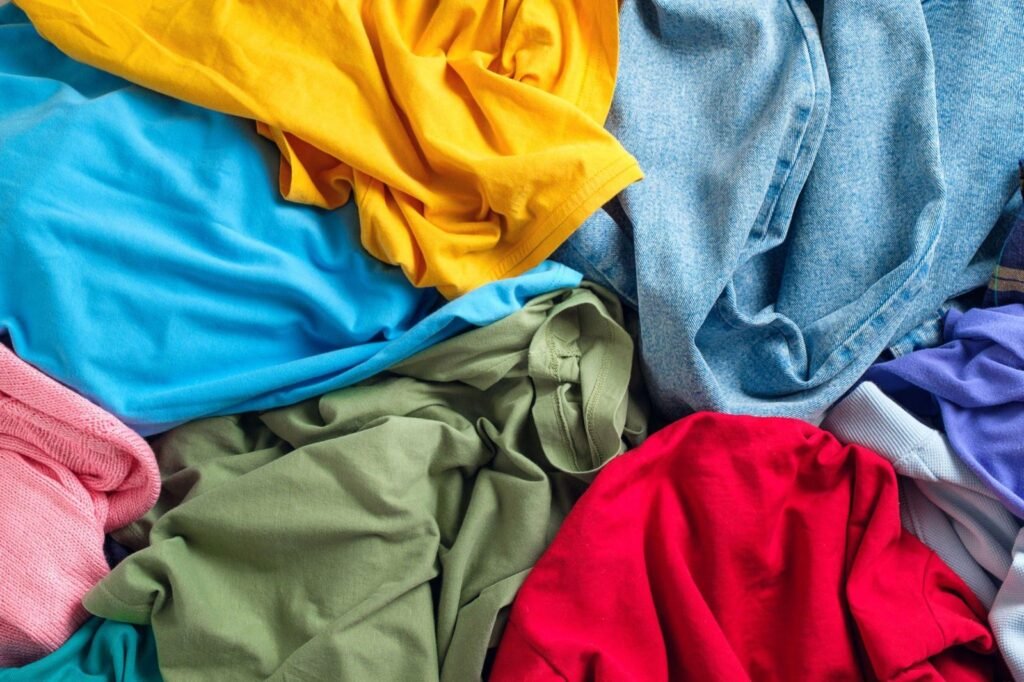
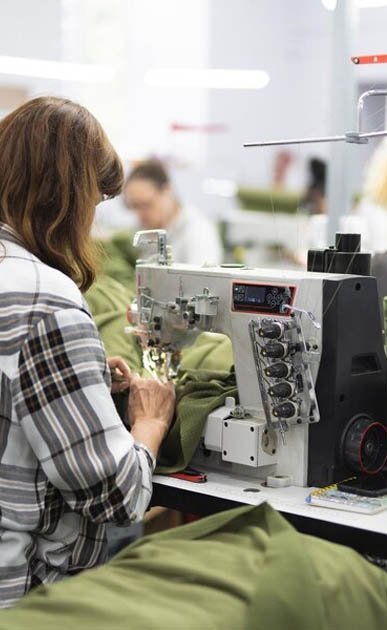
1. Meticulously Prepare Your Garments
For your photos to achieve a premium, outstanding look, your garments must be in impeccable condition. Storage and transportation often lead to wrinkles, creases, and a generally worn appearance. Clothing samples, in particular, lead a difficult life, frequently traveling long distances and sometimes lacking ideal construction from the outset.
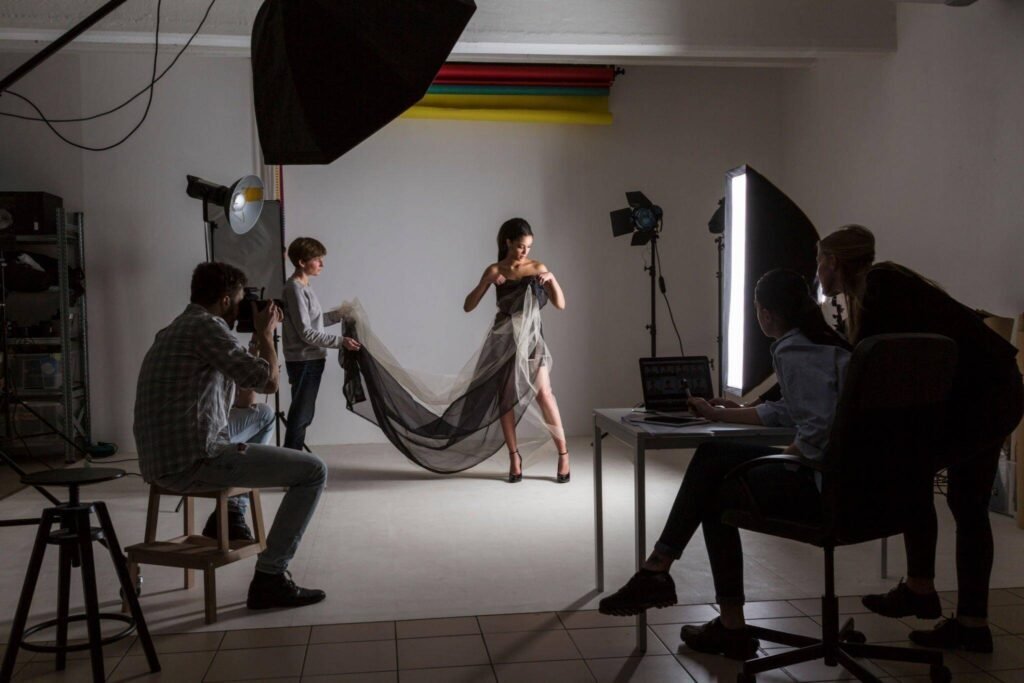
2. Strategically Set Up Your Photo Studio
To bring your unique clothing brand photoshoot concepts to life, you can effectively create a professional photographic studio in nearly any room using just a few key tools. At a minimum, you can manage with a reliable camera, a sturdy tripod, a clean white wall, a C-stand, duct tape, and readily available ambient light. However, investing a little extra in a few crucial pieces of equipment is highly recommended if you desire greater control over your shooting schedule and location consistency.
Choosing the Perfect Backdrop
To effectively eliminate visual distractions in your clothing line photoshoot and ensure the most accurate color capture possible, always opt for a white or light grey backdrop. Seamless rolls of white paper are an excellent, inexpensive, and widely available solution at any professional photography supply store.
To prevent distracting creases and shadows, securely sweep the paper roll down to the floor so that it creates a smooth curve, then tape it down. Using a dedicated stand offers more flexible background placement, granting you ample space to move around the studio. If your budget is very tight, you can temporarily tape the seamless roll directly to a wall or the ceiling. Position your model or mannequin (holding your products) centrally against the background, directly in front of the camera.
Camera Selection and Stability
For high-quality fashion photography, we strongly recommend utilizing a DSLR camera that offers manual control over exposure and aperture settings. A highly affordable and instantly accessible alternative is your smartphone camera, provided it is used correctly. Regardless of your choice, a tripod is essential. A tripod ensures your shots are perfectly steady, which also frees up your hands for necessary adjustments and styling.
Position your camera and tripod directly facing the object. For efficiency, you will rarely move the camera during the session; instead, the product should be repositioned to capture various angles.
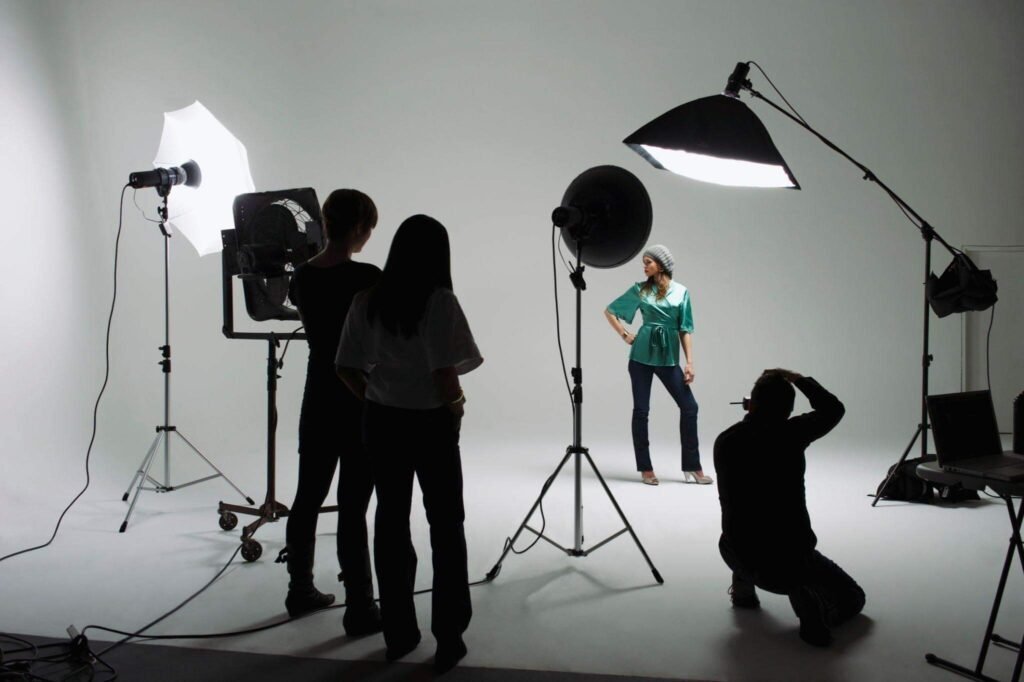
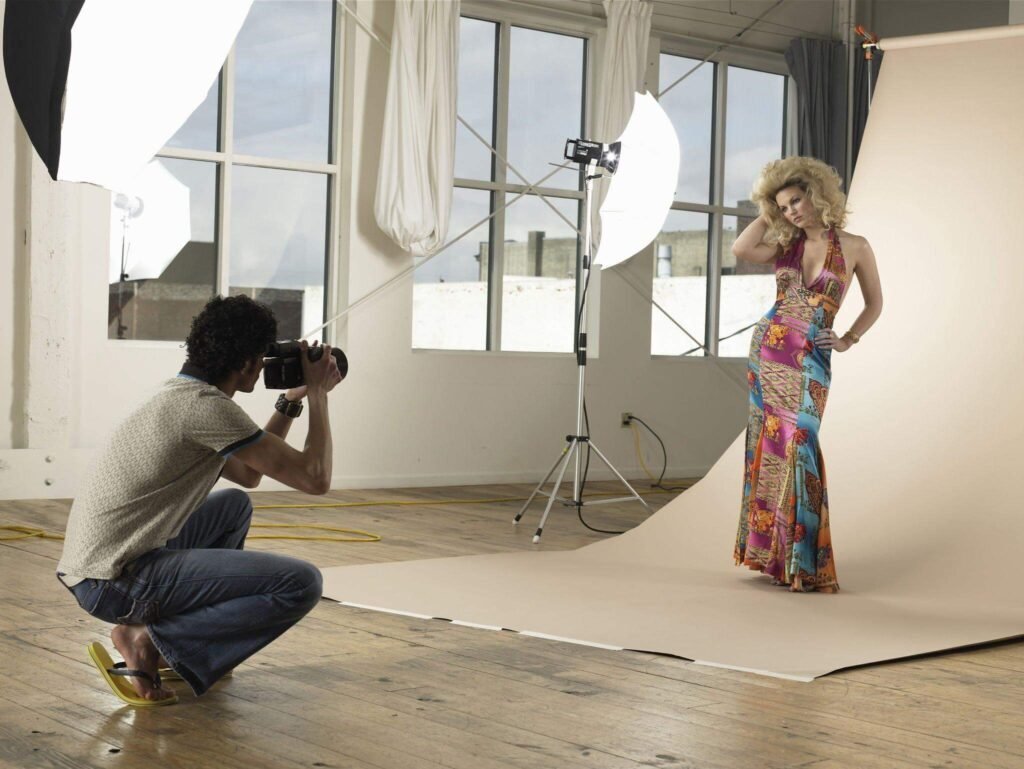
The Importance of Lighting
Natural window light is an excellent and budget-friendly light source for any clothing brand photoshoot. If you have a large window providing abundant natural light, that may be all you need! However, if your budget allows, we highly advise renting or purchasing an easy-to-use artificial lighting kit.
Having access to artificial lighting equipment ensures you can continue shooting even when natural light is insufficient. This increased versatility can significantly boost your productivity, and consistent lighting is vital for presenting a polished, unified brand image. For a basic single-light setup, you will typically need a light head (or strobe), a softbox, a C-stand, a battery pack, and a pocket wizard.
- Light Head: Considered the primary light source itself. A monolight (mono strobe light head) is a great starting point.
- Softbox: Necessary to diffuse and soften the light, ensuring your products are photographed with appealing, uniform illumination.
- C-Stand: Supports both the light head and the surrounding softbox.
- Pocket Wizard: Used to sync your camera with the light, effectively turning the light head into your camera’s dedicated flash.
3. Expertly Position Your Lighting
When utilizing natural light for your clothing photoshoots, place your product as close to a large window as possible to receive even, indirect illumination. If you are using a monolight setup, position the light source, softbox, or umbrella at a 45-degree angle to the product. This angle is ideal for ensuring uniform, soft lighting across the entire garment.

Keep your camera facing the subject directly. If you place the products too close to the background, you may encounter unwanted shadows. If this occurs, simply move the product further away from the backdrop to achieve a crisp, pure white background. For artificial light, start by reducing the power of your light source to about half strength.
To achieve proper exposure manually, look through your camera’s viewfinder to find the light meter. You adjust your camera settings until the meter notches align at 0. When using a strobe light, this is more complex as the camera cannot detect the light until the flash fires. To start, set your aperture to $f/11$ or higher and your shutter speed to $1/200$ or less. You will then need to take test shots and adjust these settings to achieve the optimal exposure and focus. Always allow your light source a brief moment to recharge between flashes, depending on your battery pack’s power.
4. Choose Your Styling Method
The way you present your clothing is fundamental to its appeal. Consider these four primary styling methods:
Mannequins (Ghost & Traditional)
Mannequins are excellent for fashion shoot ideas because they offer consistency, are reasonably priced, and are easy to work with. Take time to style your product on the mannequin meticulously. If an item appears too large, use pins and tucks to adjust it until it fits the form perfectly and accurately reflects the intended size and shape.
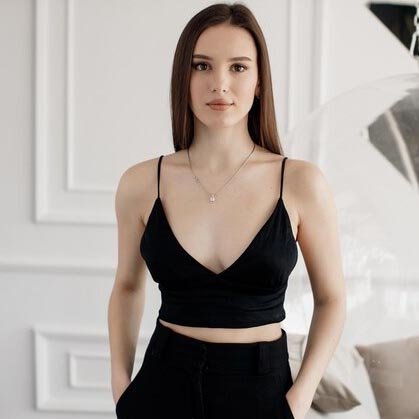
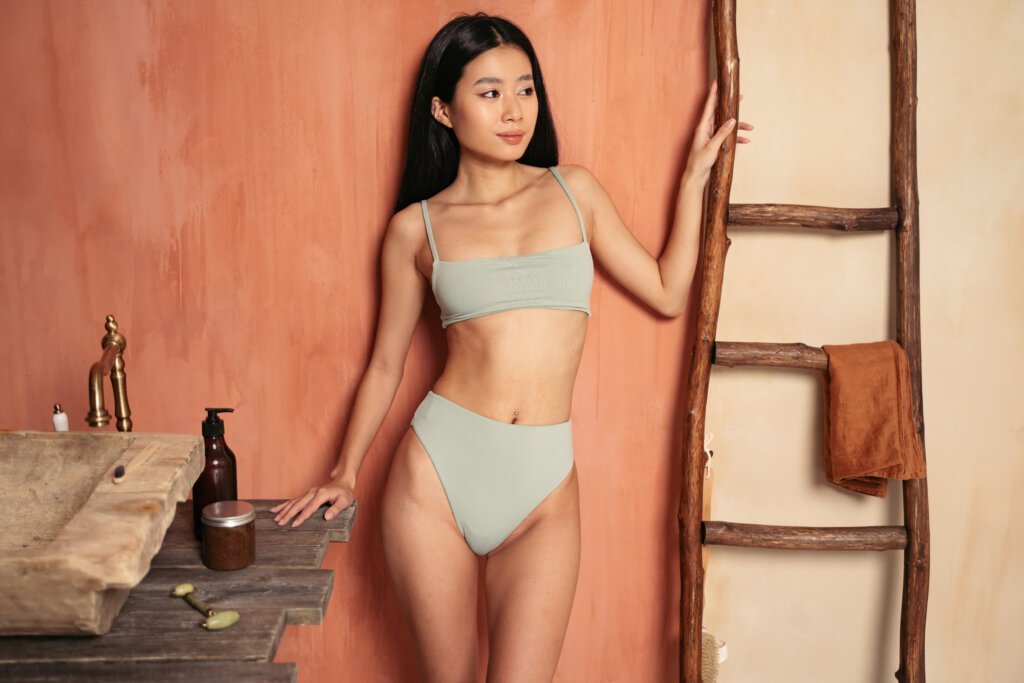
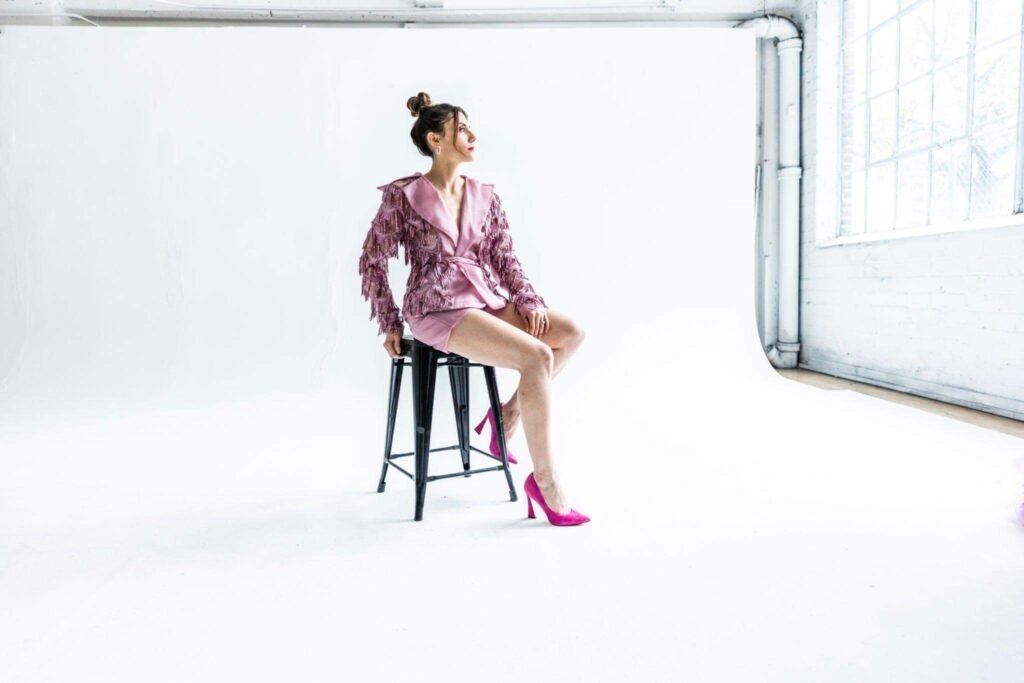
Live Models
Live models are the most ideal choice because a real person’s body helps customers relate to your products and immediately conveys professionalism. Models bring the fashion to life, but they can significantly increase costs and require more unpredictable scheduling and direction.
Hanging Apparel
Hanging clothing is a method where products are displayed at eye level. It is a less expensive and quicker alternative. The garment is hung on a hook and photographed against a wall or a white background. This technique is best suited for clothing manufacturer pieces made from light fabrics, like silk, as they are less prone to wrinkling after initial prep.
Flat Lay Photography
A “flat lay” shot is taken from a directly overhead “bird’s-eye view” while items are neatly arranged on a flat surface. Flat-lay fashion photography ideas are a fantastic alternative to using mannequins or models, capable of producing stunning, highly profitable product images. While frequently utilized for engaging social media content, it can also be effectively used for your main website content.
5. Calibrate Your Camera Settings for Perfection
No amount of Photoshopping can fix fundamentally flawed camera settings. Before you photograph a single item, ensure you have a deep understanding of ISO, aperture, and white balance.
ISO (Light Sensitivity)
The ISO setting controls your camera’s sensitivity to light. Higher ISOs introduce distracting “noise” or “grain” (specks of color or gray) that can reduce image sharpness. With a tripod, you should maintain your ISO at 100 or 200 for the absolute best sharpness and clarity.
Aperture (Focus Control)
Aperture controls the depth of field (focus) and is indicated by the camera’s f-number (e.g., $f/16$, $f/2.8$). As the aperture number increases, more of the image will be in full focus. For product photography, ensure your aperture is adjusted higher than $f/11$ so that all areas of your products are in sharp focus.
White Balance (Color Accuracy)
Different light sources have varying warmth, causing a “color cast” that makes it difficult for your camera to correctly detect true white. Your white balance setting dictates how the camera interprets and records colors. The most common light sources are tungsten, fluorescent, LED, and natural sunlight. You can set your white balance to Auto and let the camera decide, or for maximum color fidelity, manually adjust it for the specific type of light source you are using.
6. Execute the Photo Session
The moment has arrived! Point your camera at the subject, press the shutter release halfway to achieve focus, and then take the picture. If you observe that your photographs need more or less light during the session, adjust your camera settings accordingly. With practice, these adjustments will become instinctive.
During your fashion photo session, capture an abundance of images. You should capture the front, rear, 45-degree angles, left and right sides, and any important details. Be sure to take several close-up pictures to highlight unique features or textures in your clothing. The more shots you have, the better. Customers are more likely to trust their initial perceptions if the product is supported by multiple, high-quality images taken from various angles.
7. Finalize and Perfect in Post-Production
Once the shooting is complete, it’s time to prepare your clothing brand photoshoot content for the web. The goal of post-production processing is to make your photographs look as professional as possible while maintaining optimal website functionality (fast loading times).
To ensure a unified and expert image portfolio, your post-production and editing workflow must account for alignment, cropping, background removal, and meticulous color correction. Document your procedures clearly so you can create a consistent set of guidelines for both shooting and editing.
- Alignment: Ensure all products are perfectly centered and maintain the same size ratio across every photograph. Angles, corners, and edges of your items should be parallel to one another. Using guidelines within a Photoshop template simplifies this process.
- Cropping: Crop product photographs uniformly to guarantee a smooth, predictable online buying experience for your customers. Consistent adherence to alignment principles will make regular cropping and resizing easy.
- Background: Utilizing a pure white background is highly recommended and often mandatory for major e-commerce marketplaces. Removing the background entirely can further eliminate distractions and provide more creative freedom for website design, sometimes slightly reducing file size.
- Color Correction: Certain colors (like neons, reds, and bright pinks) are inherently challenging for cameras to capture accurately and frequently require editing, even with careful white balance. Since poor color representation can frustrate clients, dedicate extra time to ensuring the colors of your clothing are precisely correct.
The Unique Psychology Behind Successful Clothing Line Photo Shoots
While the technical precision of fashion photoshoot execution is critical, understanding the psychological impact of a successful image is what will truly set your brand apart. It’s not simply about capturing a good image; it’s about evoking specific emotions and fostering a deep connection with your audience. Here is a deeper look into the fashion concept and consumer psychology:
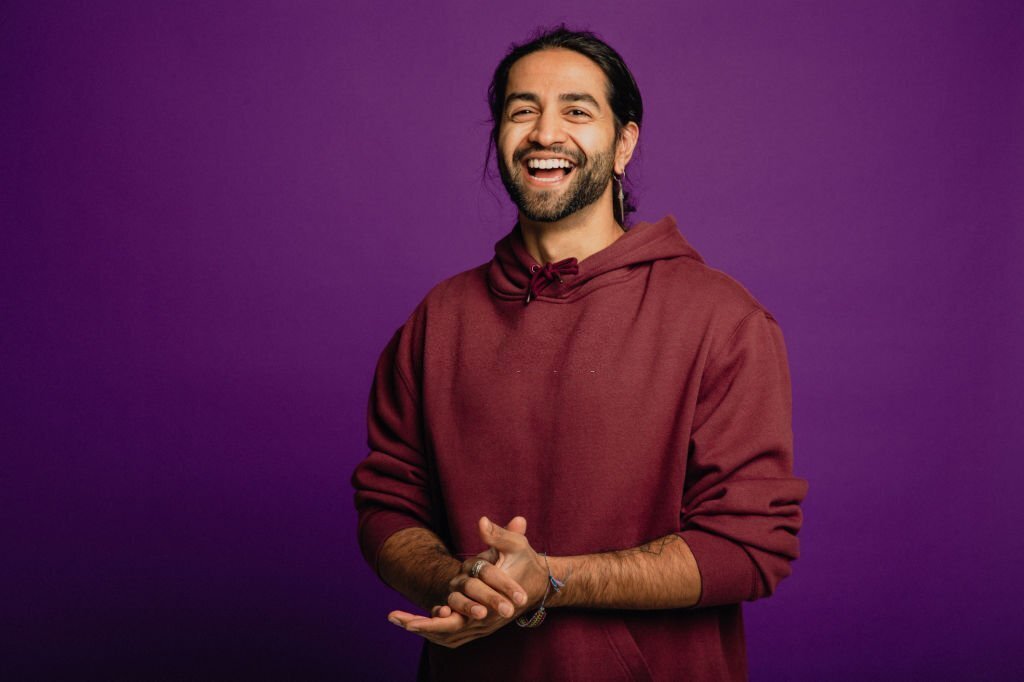
Emotional Connection Through Visuals
- Color Psychology: Colors trigger different emotions. For instance, red conveys passion and strength, while blue often emphasizes confidence and calmness. Choose backdrops, accessories, and clothing colors deliberately based on the emotional response you wish to inspire in your customers.
- Model Body Language: Models are vital communicators of emotion. A confident posture, a subtle smile, or a playful pose all influence how your audience perceives your brand’s style. Ensure your models understand the precise emotional narrative you aim to convey.
- Storytelling: Every garment has a story—be it about sustainability, empowerment, or classic elegance. Your images must actively tell that story. Utilize props, settings, and poses that align perfectly with your core brand narrative.
- Consumer Empowerment & Inclusion: Modern consumers desire to see themselves reflected in your product. The best clothing line photoshoot ideas incorporate inclusive modeling to show that your fashion caters to people of all shapes, sizes, and backgrounds. When customers see that you represent them, they feel empowered and are far more likely to bond with your brand.
- Authenticity: In the social media age, authenticity is paramount. Avoid excessive editing or airbrushing. Embrace natural beauty and genuine moments. An audience is much more likely to trust a brand that keeps it real.
Understanding the Cost of a Clothing Line Photoshoot

The total cost for a high-quality fashion photoshoot can vary significantly based on numerous factors, including the shoot’s location, the photographer’s experience, the number of garments, and optional services (such as professional hair/makeup, advanced retouching, or complex set design).
Key Budget Components:
- Photographer Rates: Conduct thorough research before hiring. To successfully showcase and sell new articles, you must hire a skilled professional photographer. Rates typically range from $100 to $300 per hour, depending on their portfolio and experience level.
- Location and Set Rental:
- Outdoor spaces (e.g., parks, beaches) are often free but may require permits.
- Indoor studios or rented spaces can cost substantially, depending on size and location. Studio rentals often range from $300 to $2000 or more.
- Exotic or distant locations incur extra expenses for travel, accommodation, and transportation for the entire crew.
- Props and Accessories: Props help envision the message, give the scene depth, and make the main subject stand out. Items like flowers, colored cards, or specific pieces of furniture typically cost between $50 to $120, depending on your specific needs.
- Model Photo Shoot Costs: Costs vary greatly based on expertise and reputation. New models may charge less, while more seasoned models can command higher fees. Rates often fall between $200 to $300 per hour. It is crucial to discuss the compensation package and usage rights (editorial, advertising, e-commerce) with models or their representatives beforehand to avoid any misunderstandings.
- Hair and Makeup (H&MUA): The cost for H&MUA depends on the type of shoot (e.g., high fashion vs. simple e-commerce) and the artist’s reputation. Even for basic services, budget at least $200. Always obtain quotations tailored to the specific requirements of your shoot.
Concluding Your Journey to Perfect Clothing Line Photos
Mastering the art of photographing your clothing is your essential gateway to making a memorable, lasting impression in the competitive fashion world. By meticulously planning, expertly setting up your studio, perfecting your images through careful camera calibration, and paying close attention to both technical and psychological details, you are well-equipped to capture the true essence of your brand.
Remember: it’s fundamentally more than just the clothes; it’s about the emotional response, the compelling stories, and the customer connections that your professional images create. Grab your camera, rally your team, and let your clothing line shine with the undeniable power of high-quality, professional photography. Happy shooting!
Next Step: Now that you have incredible images, take the next step in your fashion journey—uncover the strategies of how to get your brand into stores, and let’s turn your unique vision into a retail success story.
Frequently Asked Questions (FAQ)
Q: Why is image quality so critical for a new clothing line’s success?
A: High-quality, professional images are essential because they are the customer’s primary point of interaction with your product online. They build immediate trust, accurately convey the texture and fit of the clothing, and significantly impact click-through rates and conversion rates on e-commerce platforms.
Q: Is it better to use models or mannequins for a clothing photoshoot?
A: While mannequins (especially ghost mannequins) offer consistency and cost-efficiency for e-commerce, using live models is generally superior. Models help customers visualize the garment on a real person, making the product more relatable and professional, which often leads to higher engagement and sales.
Q: What are the most important camera settings to check before shooting?
A: The three most crucial settings are Aperture, ISO, and White Balance. Set the Aperture high (e.g., $f/11$ or higher) for sharp focus across the entire garment, keep the ISO low (100 or 200) to minimize image grain, and carefully set the White Balance to ensure accurate color representation under your specific lighting conditions.
Q: How can I ensure color accuracy between the photo and the actual clothing?
A: Start by correctly setting your White Balance for your light source. Then, during post-production, use color correction tools in software like Photoshop to match the on-screen colors precisely to the physical garment. Paying extra attention to challenging colors like reds and neons is essential to prevent customer disappointment.